Managing Agents
Use the AI Agents tab to decide which agents can spend on your behalf and under what conditions.
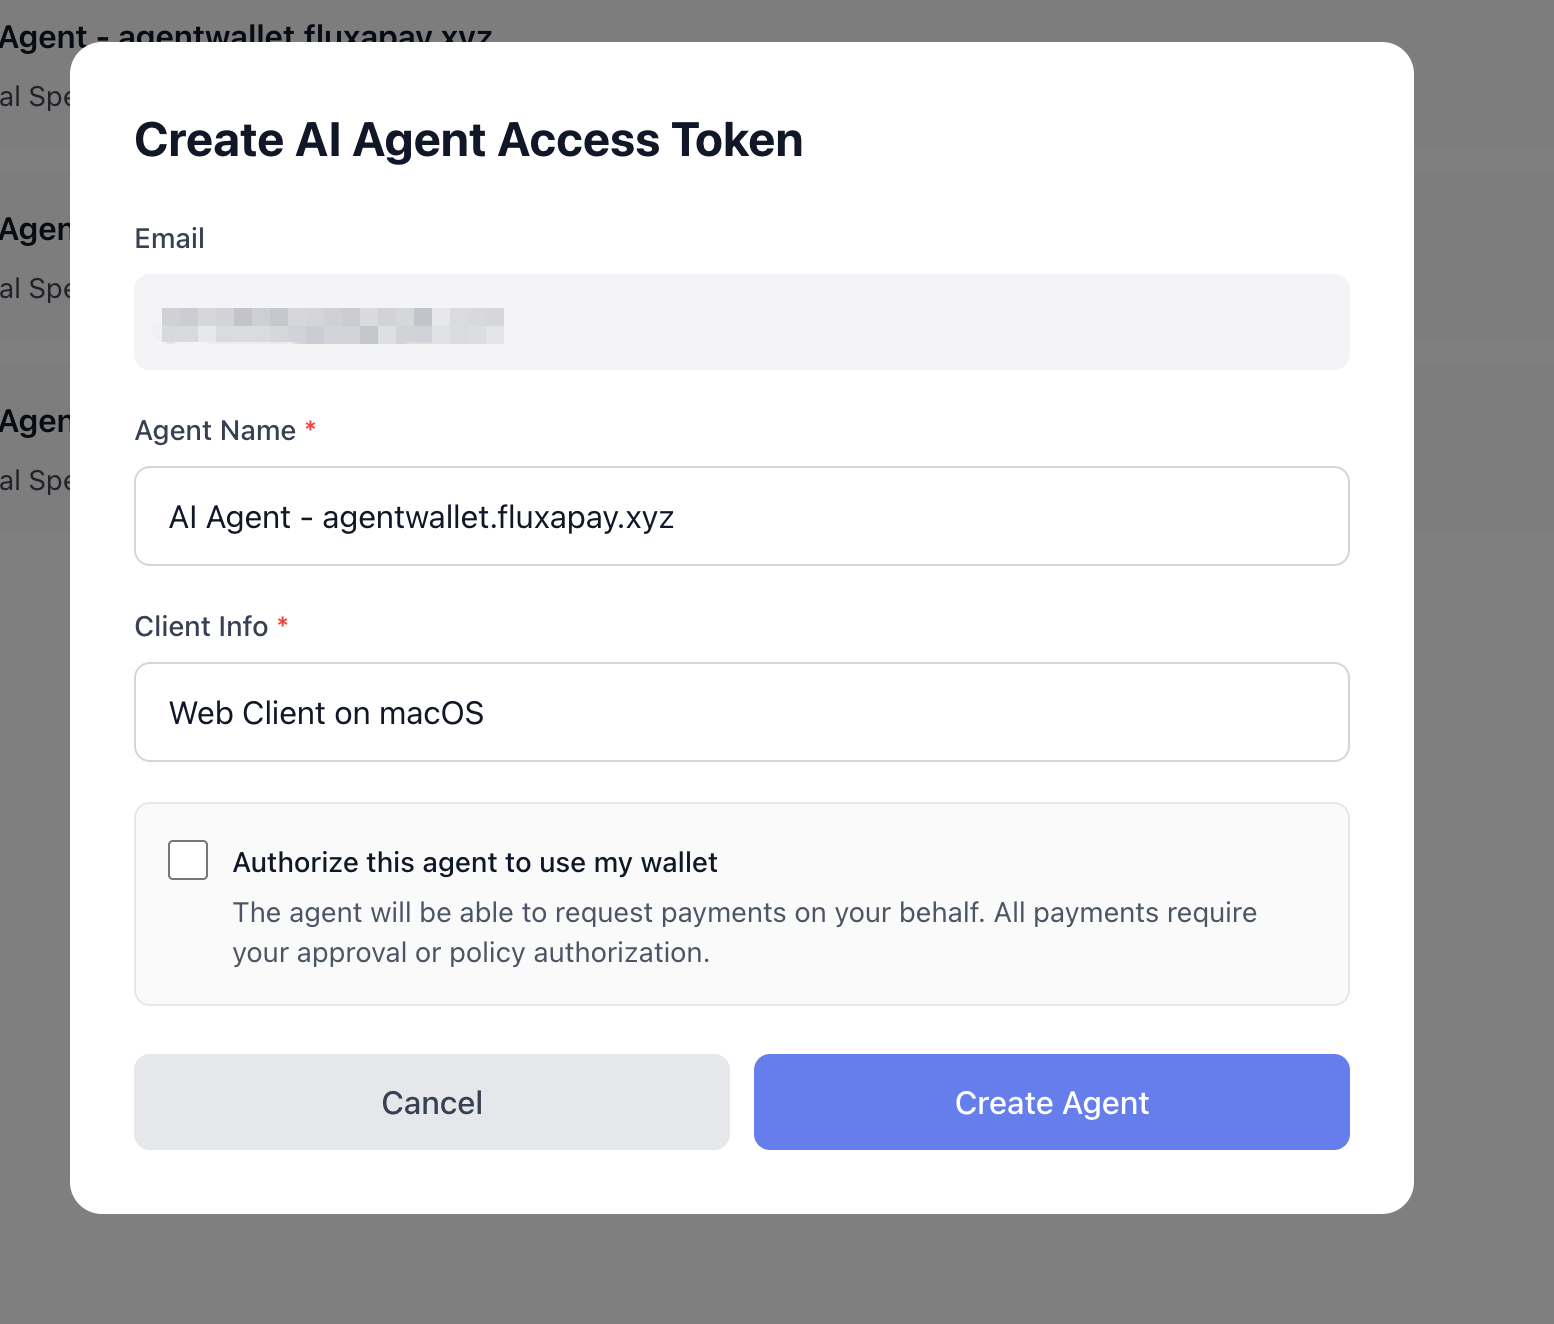
Create an agent
- Open AI Agents from the left navigation.
- Click Create in the top‑right.
- In the modal, fill in Agent Name and Client Info.
- Optionally tick “Authorize this agent to use my wallet” so it can start spending immediately.
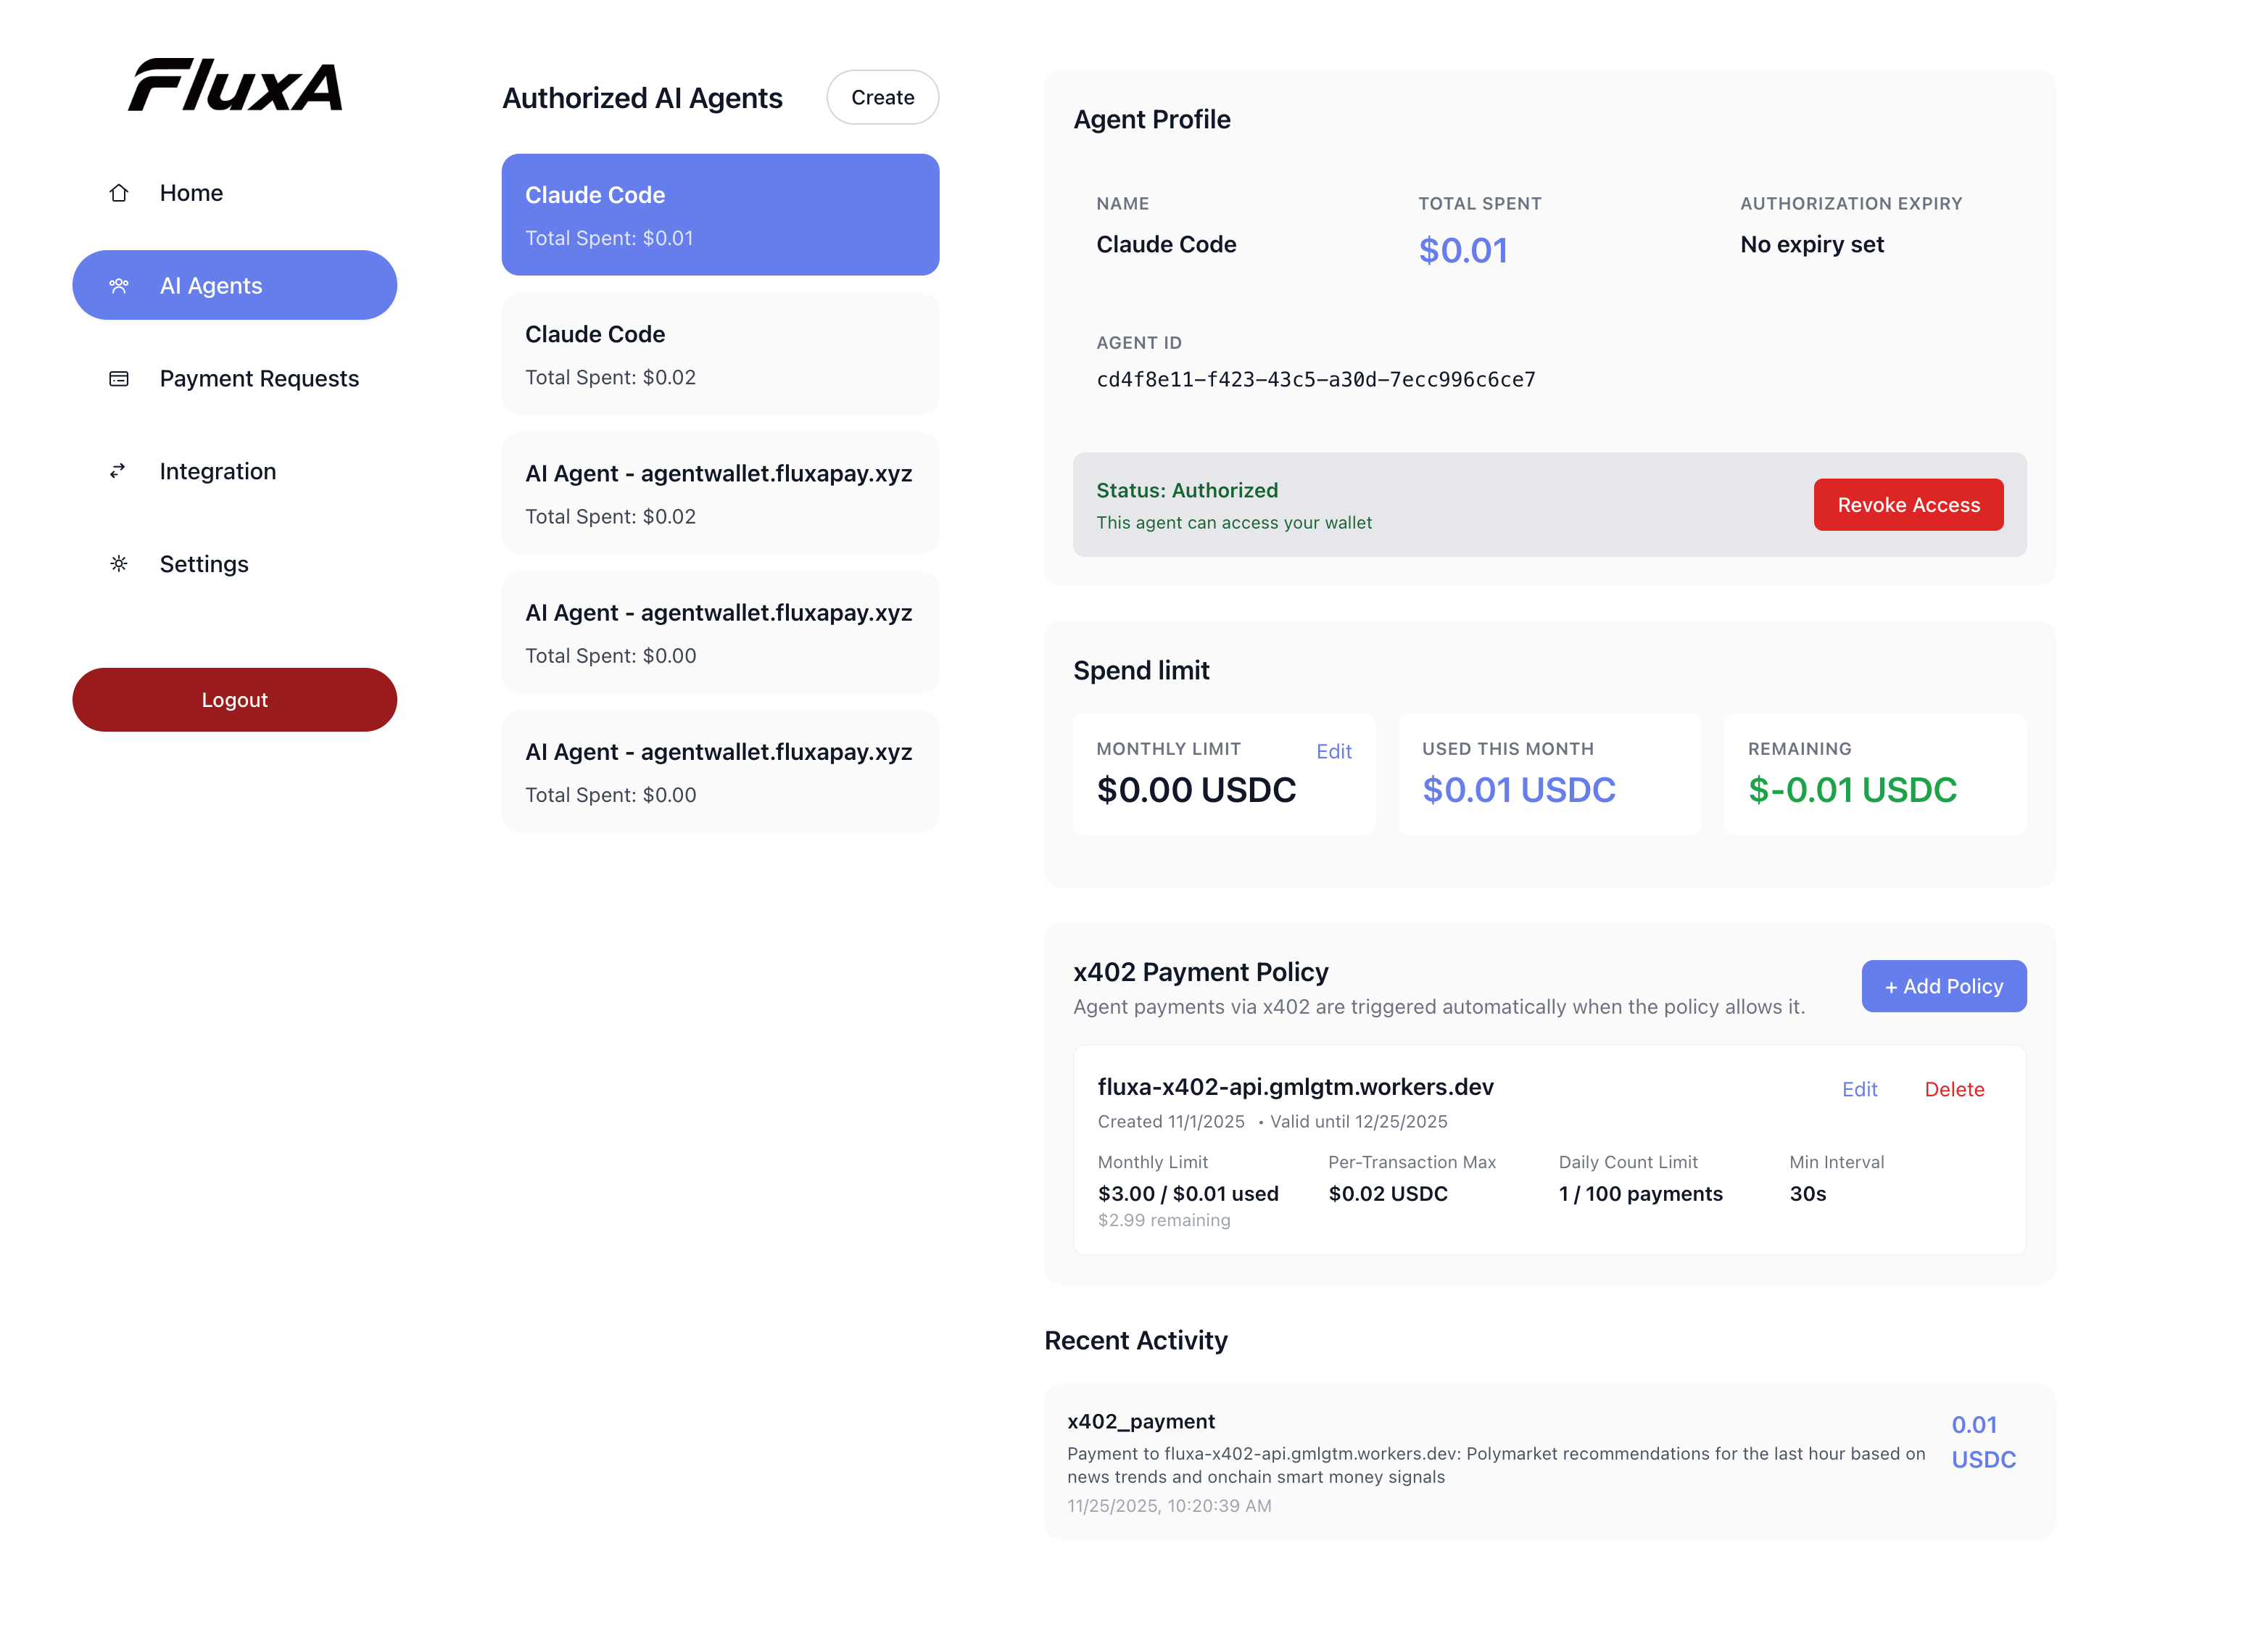
Revoke access
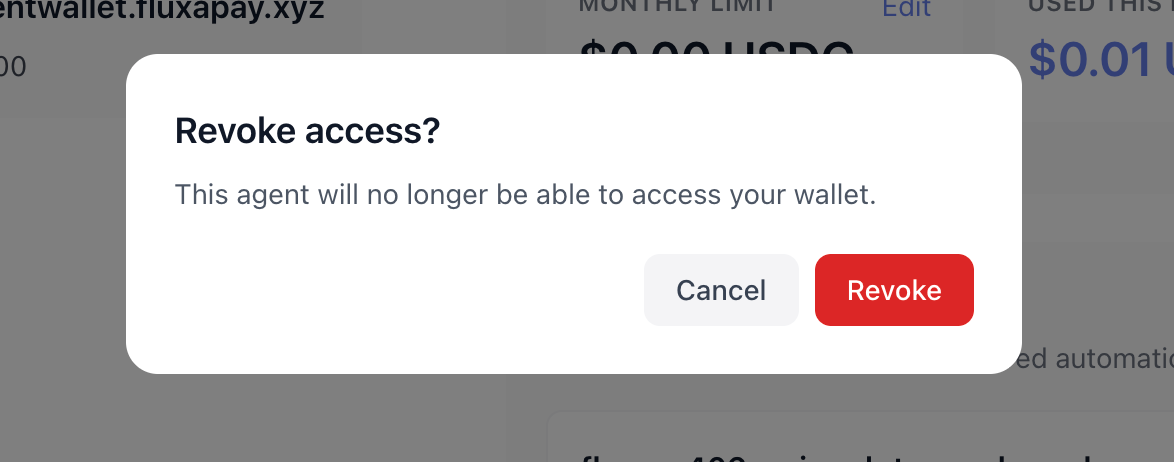
- In the agent list, click an agent to select it.
- In the details panel, click Revoke access. After confirmation, that agent cannot initiate new payments.
Configure x402 payment policies
Policies let you auto‑approve payments for a specific host, within limits you define.
- Select an agent in the list.
- In the details panel, find the x402 Payment Policy section and click + Add Policy.
- Set host, monthly limit, per‑transaction maximum, daily count, minimum interval, and validity window.
- Save, edit, or delete policies as your trust evolves.
See Automatic Policies for field meanings, resets, and common denials.